AlexNet
This tutorial provides guidance on running the AlexNet model on RevyOS using either the CPU or NPU. AlexNet is a widely used deep convolutional neural network (CNN) architecture, extensively applied in image classification tasks.
Before proceeding, please ensure you have completed the environment setup section.
Obtaining Example Code
The example code for this tutorial is available on Github. Clone it locally using the following command:
$ git clone https://github.com/zhangwm-pt/lpi4a-example.git
The relevant code for this tutorial is located in the classification/alexnet directory.
Obtaining the Model
The model used in this tutorial is from the Caffe model repository. Download the AlexNet model with the following commands:
$ wget https://github.com/BVLC/caffe/raw/master/models/bvlc_alexnet/deploy.prototxt
$ wget http://dl.caffe.berkeleyvision.org/bvlc_alexnet.caffemodel
If you encounter network issues accessing GitHub from mainland China, consider using a network proxy tool to accelerate access.
Model Information
| GFLOPs | params | accuracy | input name | output name | shape | layout | channel order | mean values |
|---|---|---|---|---|---|---|---|---|
| 1.5 | 60M | top1 56.1%, top5 79.4% | data | prob | 1, 3, 227, 227 | NCHW | BGR | 104, 117, 123 |
Model Conversion and Compilation
On an x86 machine, use the HHB tool to convert the caffemodel into a computation graph and glue code suitable for RevyOS. Before proceeding, ensure you have started the HHB container and cloned the example repository as described in the environment setup section.
Model Conversion with HHB
In this step, the caffemodel is converted into a format compatible with the HHB platform.
Navigate to the classification/alexnet directory and execute the following commands:
- NPU
- CPU
$ hhb -D --model-file bvlc_alexnet.caffemodel deploy.prototxt \
    --data-scale 1 --data-mean "104 117 124"  --board c920  \
    --postprocess save_and_top5 --input-name "data" \
    --output-name "prob" --input-shape "1 3 227 227" \
    --quantization-scheme float16 --pixel-format BGR
$ hhb -D --model-file bvlc_alexnet.caffemodel deploy.prototxt \
    --data-scale 1 --data-mean "104 117 124"  --board th1520  \
    --postprocess save_and_top5 --input-name "data" \
    --output-name "prob" --input-shape "1 3 227 227" \
    --calibrate-dataset persian_cat.jpg  \
    --quantization-scheme "int16_sym" --pixel-format BGR
-D: Specifies the HHB process to stop at the executable generation stage--model-file: Specifies the input model file--data-mean: Specifies the mean values--data-scale: Specifies the scale value--board: Target platform, C920 (CPU) or TH1520 (NPU)--input-name: Model input tensor name--output-name: Model output tensor name--input-shape: Model input tensor shape--postprocess: Specifies the post-processing behavior for the generated glue code.save_and_top5saves the output and prints the top 5 results--quantization-scheme: Specifies the quantization type
You can run hhb --help to view all available parameters and options.
After execution, an hhb_out subdirectory will be generated in the current directory, containing files such as hhb_runtime, model.c, and others:
hhb.bm: HHB model file, including quantized weights and related datahhb_runtime: Executable for the development board, compiled from the C files in the directorymain.c: Reference entry for the generated example programmodel.c: Model structure representation filemodel.params: Model weights fileio.c: Example program with file I/O helper functionsio.h: Declarations for I/O helper functionsprocess.c: Example program with image preprocessing functionsprocess.h: Declarations for preprocessing functions
Compiling the Application
The glue code generated by HHB only tests the model's functionality. For complete image preprocessing and postprocessing, an application using OpenCV is provided to load the model and perform inference.
In the classification/alexnet directory, compile the application with:
$ export OPENCV_DIR=../../modules/opencv/ # Set the path to OpenCV
$ riscv64-unknown-linux-gnu-g++ main.cpp -I${OPENCV_DIR}/include/opencv4 -L${OPENCV_DIR}/lib \
    -L${OPENCV_DIR}/lib/opencv4/3rdparty/ -Wl,--start-group -lopencv_imgproc -lopencv_imgcodecs \
    -llibjpeg-turbo -llibwebp -llibpng -llibtiff -llibopenjp2 -lopencv_core -Wl,--end-group -ldl  \
    -lpthread -lrt -lzlib -lcsi_cv -latomic -static -o alexnet_example
The example code uses OpenCV for model input preprocessing. Please ensure OpenCV is installed as described in the environment setup section.
- -I../prebuilt_opencv/include/opencv4: Header file search path, pointing to the OpenCV headers
- -L../prebuilt_opencv/lib: Library search path, pointing to the precompiled OpenCV binaries
- -lopencv_imgproc -lopencv_imgcodecs -lopencv_core: OpenCV libraries
- -llibjpeg-turbo -llibwebp -llibpng -llibtiff -llibopenjp2 -lcsi_cv: OpenCV dependencies
- -static: Static linking
- -o alexnet_example: Output executable name
After successful compilation, the alexnet_example file will be generated in the example directory.
Uploading and Running the Application
Upload to the Development Board
Package all files in this directory and upload them to the development board. For example, use the scp command to upload to /home/debian/npu:
$ scp -r ../alexnet/ debian@<board_ip>:/home/debian/alexnet/
Alternatively, you may use other methods such as USB storage devices or network sharing.
Running the Program
On the development board, navigate to /home/debian/alexnet. Ensure the SHL library is installed and LD_LIBRARY_PATH is configured. Then run:
$ ./alexnet_example
If you encounter the following error:
hhb_out/hhb_runtime: error while loading shared libraries: libshl_th1520.so.2: cannot open shared object file: No such file or directory
Ensure LD_LIBRARY_PATH is correctly set. If the issue persists, run pip show shl-python to check the version.
If the version is 3.x.x, it is too high. The program requires shl-python version 2.x. Downgrade with:
$ pip install shl-python==2.6.17
If you encounter the following error:
FATAL: could not open driver '/dev/vha0': Permission denied
Check if the current user has read/write permissions for /dev/vha0. Set permissions with:
$ sudo chmod 0666 /dev/vha0
It is recommended to configure udev rules for automatic permission setting. Consult AI or documentation for udev configuration.
In theory, the program should run quickly. However, the first run may take over 5 minutes due to JIT compilation when loading the model on the NPU. Due to HHB runtime design, JIT compilation occurs on every run, resulting in long execution times.
For more details, refer to Common Issues and Solutions.
Sample output:
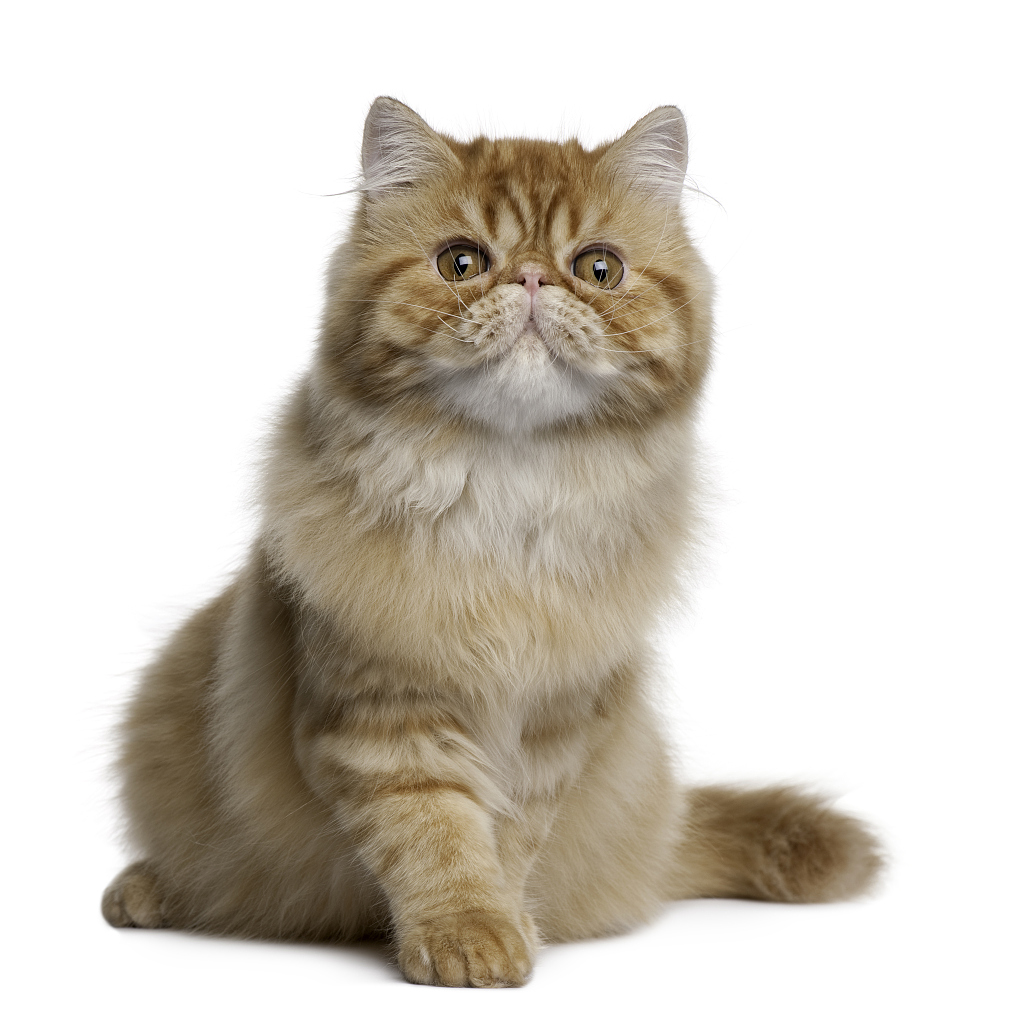
In this tutorial, the input is a picture of a Persian cat. The expected result for ResNet50 is that the largest value is at index 283, corresponding to Persian cat.
- NPU
- CPU
$ ./alexnet_example
 ********** preprocess image **********
 ********** run model **********
Run graph execution time: 188.13387ms, FPS=5.32

=== tensor info ===
shape: 1 3 227 227
data pointer: 0x31d3f150

=== tensor info ===
shape: 1 1000
data pointer: 0x31d8a910
The max_value of output: 0.907715
The min_value of output: 0.000000
The mean_value of output: 0.001000
The std_value of output: 0.000827
 ============ top5: ===========
283: 0.907715
287: 0.058960
281: 0.030121
282: 0.002272
285: 0.001055
 ********** postprocess result **********
 ********** probability top5: **********
n02123394 Persian cat
n02127052 lynx, catamount
n02123045 tabby, tabby cat
n02123159 tiger cat
n02124075 Egyptian cat
$ ./alexnet_example
 ********** preprocess image **********
 ********** run model **********
INFO: Mapconfig format (S16e?) overrides network format (F32) at input input1_imgdnn0
INFO: Mapconfig format (S16e?) overrides network format (F32) at output softmax_output@@prob_32_21
INFO: NNA clock:406105 [kHz]
INFO: Heap :anonymous (0x2)
INFO: Heap :dmabuf (0x2)
INFO: Heap :unified (0x5)
Run graph execution time: 20.17579ms, FPS=49.56

=== tensor info ===
shape: 1 3 227 227
data pointer: 0x5367d6e0

=== tensor info ===
shape: 1 1000
data pointer: 0x3f9b557000
The max_value of output: 0.904480
The min_value of output: 0.000000
The mean_value of output: 0.001000
The std_value of output: 0.000822
 ============ top5: ===========
283: 0.904480
287: 0.059723
281: 0.032013
282: 0.002380
285: 0.001251
 ********** postprocess result **********
 ********** probability top5: **********
n02123394 Persian cat
n02127052 lynx, catamount
n02123045 tabby, tabby cat
n02123159 tiger cat
n02124075 Egyptian cat