Installing RevyOS on the Milk-V Pioneer
Preparation
Required Tools
- microSD card
- microSD card reader
- NVMe SSD adaptor
Downloading the Image
RevyOS image directory: Download Link
Latest image version: 20251226
Example directory for the 20251226 image:
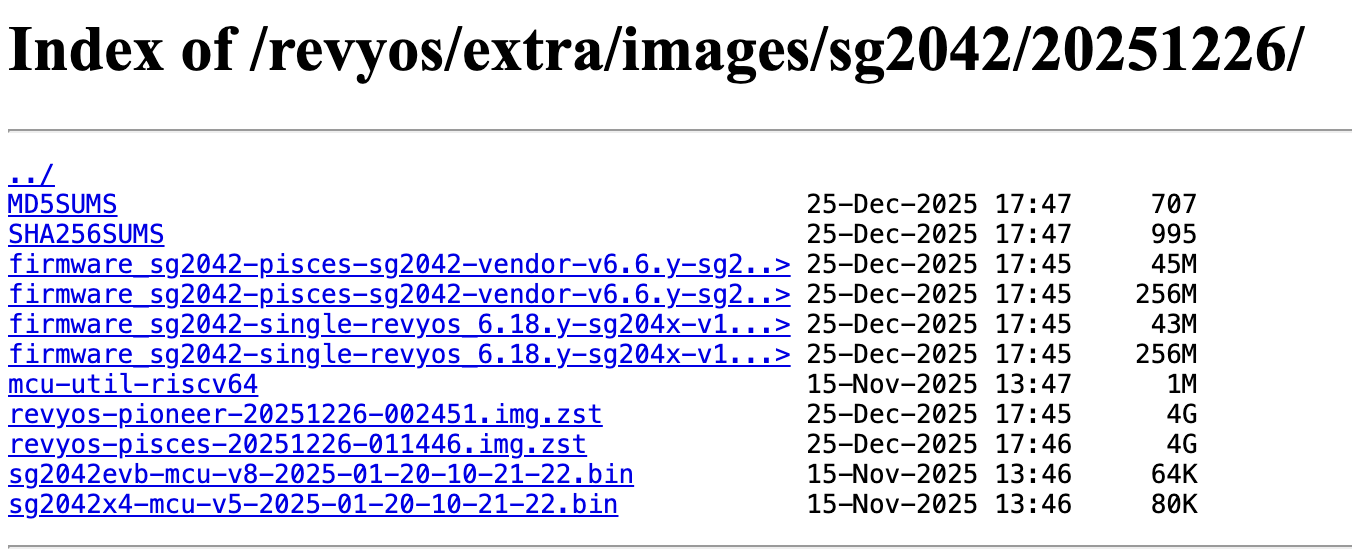
RevyOS requires flashing both firmware and system files, as listed below.
There are two separate firmware, one include zsbl, linuxboot, device trees and more, which handles the system boot process.
This part of firmware can be flashed to either the SPI Flash or microSD card:
- Firmware files:
firmware_sg2042-single-revyos_6.18.y-sg204x-v1.7.bin(for SPI Flash)firmware_sg2042-single-revyos_6.18.y-sg204x-v1.7.img(for SD card)
The other part is the MCU firmware. Newer versions of MCU firmware has fixed some known issues, an upgrade is recommended, after completing the system installation.
And also the system image itself which needs to be flashed to M.2 NVMe SSD:
revyos-pioneer-20251226-002451.img.zst
Flashing the Firmware
Flashing Firmware to SD Card
Operating System: Ubuntu 22.04
Using BalenaEtcher
- Select the file
firmware_sg2042-single-revyos_6.18.y-sg204x-v1.7.img. - Choose the target SD card.
- Click "Flash" to start the process.
Using Command Line
Insert the SD card into a reader connected to your computer, then verify the device path.
Navigate to the directory with firmware_sg2042-single-revyos_6.18.y-sg204x-v1.7.img and flash it with the following command:
sudo dd if=firmware_sg2042-single-revyos_6.18.y-sg204x-v1.7.img of=/dev/sdX bs=4M status=progress
Replace of=/dev/sdX with your specific device path if different.
After flashing, use sync to ensure data is fully written to the SD card.
Flashing Firmware to SPI Flash
Operating System: RevyOS 20251226
Note: For first-time installation, using an SD card to store the firmware is recommended.
Using Command Line
Flashing to the SPI Flash requires installing utilities and loading the mtd module.
Install necessary packages:
sudo apt install mtd-utils
sudo modprobe mtdblock
Download the firmware file:
wget https://mirror.iscas.ac.cn/revyos/extra/images/sg2042/20251226/firmware_sg2042-single-revyos_6.18.y-sg204x-v1.7.bin
Navigate to the directory where firmware_sg2042-single-revyos_6.18.y-sg204x-v1.7.bin was downloaded and run:
sudo flashcp -v firmware_sg2042-single-revyos_6.18.y-sg204x-v1.7.bin /dev/mtd1
Flashing to SPI Flash is now complete.
3. Flashing the RevyOS Image
Operating System: Ubuntu 22.04
Using Command Line
-
Decompress the
revyos-pioneer-20251226-002451.img.zstfile usingunzstd revyos-pioneer-20251226-002451.img.zst. This produces therevyos-pioneer-20251226-212249.imgfile. -
Insert the NVMe SSD into the reader and connect it to your computer, then confirm the device path.
-
In the directory containing
revyos-pioneer-20251226-212249.img, flash the image to the NVMe SSD with dd command:sudo dd if=revyos-pioneer-20251226-212249.img of=/dev/nvme0n1 bs=4M status=progress. Replaceof=/dev/nvme0n1with the correct device path if different. -
After flashing, use
syncto ensure the data is fully written to the NVMe SSD.
MCU Firmware upgrade
After you finished system installation process and successfully booted into the system, open up a terminal or connect via SSH.
First, install wget, download the MCU firmware and mcu-util.
sudo apt update; sudo apt install -y wget
mkdir mcu && cd mcu
wget https://github.com/sophgo/mcu/releases/download/2025.01.20/mcu-util-riscv64
# Use the file below for Milk-V Pioneer; for other boards please choose accordingly at the GitHub Release page.
wget https://github.com/sophgo/mcu/releases/download/2025.01.20/sg2042evb-mcu-v8-2025-01-20-10-21-22.bin
Then load i2c-dev kernel module and start flashing:
sudo modprobe i2c-dev
chmod +x mcu-util-riscv64
sudo ./mcu-util-riscv64 upgrade-full 1 0x17 sg2042evb-mcu-v8-2025-01-20-10-21-22.bin
If everything goes fine then you should get log like this:
erase page 0000e000
program flash 00010000 100%
read flash 00010000 100%
verify flash data ok
After finishing the flashing process, please power off the board and cut off the AC power entirely.
It is recommended to wait for around 1~5 minutes before plugging in and power on the board.