LIcheepi 4A部署 mobilenetv2 模型完成图像分类的示例
本文将介绍如何在Licheepi 4A上部署MobileNetV2模型进行图像分类任务。
前提条件
- Licheepi 4A硬件设备
- RevyOS操作系统
- 基本的机器学习知识
模型介绍
MobileNetV2是一个轻量级深度学习模型,专为移动和边缘设备设计,具有高效率和良好的性能表现。
本教程是一个如何在 LicheePi4A 平台上部署 mobilenetv2 模型完成图像分类的示例。
教程中包括了:
- 使用 HHB 编译 onnx 模型为 LicheePi4A 上可用的二进制
- 在 LicheePi4A 上使用 opencv c++ 版本做 mobilenetv2 模型的预处理
- 在 LicheePi4A 上使用 CPU 和 NPU 的差异
NPU环境配置
需要先安装 python 虚拟环境,再使用 pip3 安装 python 包。 使用如下命令,安装 venv 包,用于创建python虚拟环境(以在 root 目录中创建 python 虚拟环境为例):
sudo apt install python3.11-venv
python3 -m venv venv
source venv/bin/activate
SHL 库安装
使用 pip 安装
pip3 install shl-python
安装后,使用 --whereis 查看安装位置
python3 -m shl --whereis th1520
# 若使用纯 CPU 推理,则替换为 python3 -m shl --whereis c920
根据打印的位置,将目录中的动态库复制到 /usr/lib 目录中,比如,打印的是:
/home/sipeed/ort/lib/python3.11/site-packages/shl/install_nn2/th1520
可以使用复制命令:
sudo cp -r /home/sipeed/ort/lib/python3.11/site-packages/shl/install_nn2/th1520/lib/* /usr/lib/
HHB-onnxruntime 安装
HHB-onnxuruntime 是移植了 SHL 后端(execution providers),让 onnxruntime 能复用到 SHL 中针对玄铁 CPU 的高性能优化代码。
CPU 版本
wget https://github.com/zhangwm-pt/onnxruntime/releases/download/riscv_whl_v2.6.0/hhb_onnxruntime_c920-2.6.0-cp311-cp311-linux_riscv64.whl
pip install hhb_onnxruntime_c920-2.6.0-cp311-cp311-linux_riscv64.whl
NPU 版本
wget https://github.com/zhangwm-pt/onnxruntime/releases/download/riscv_whl_v2.6.0/hhb_onnxruntime_th1520-2.6.0-cp311-cp311-linux_riscv64.whl
pip install hhb_onnxruntime_th1520-2.6.0-cp311-cp311-linux_riscv64.whl
x86主机配置
安装好docker后,在docker应用中打开terminal输入:
docker pull hhb4tools/hhb:2.4.5
拉取镜像完毕后,使用下面的命令进入 Docker 镜像:
docker run -itd --name=your.hhb2.4 -p 22 "hhb4tools/hhb:2.4.5"
docker exec -it your.hhb2.4 /bin/bash
进入 Docker 镜像后,可使用下面的命令确认 HHB 版本:
hhb --version
进入 Docker 镜像中后,还需要配置交叉编译环境。注意必须要使用这这里的工具链,否则编译出的二进制文件无法在 LicheePi4A 上运行。
export PATH=/tools/Xuantie-900-gcc-linux-5.10.4-glibc-x86_64-V2.6.1-light.1/bin/:$PATH
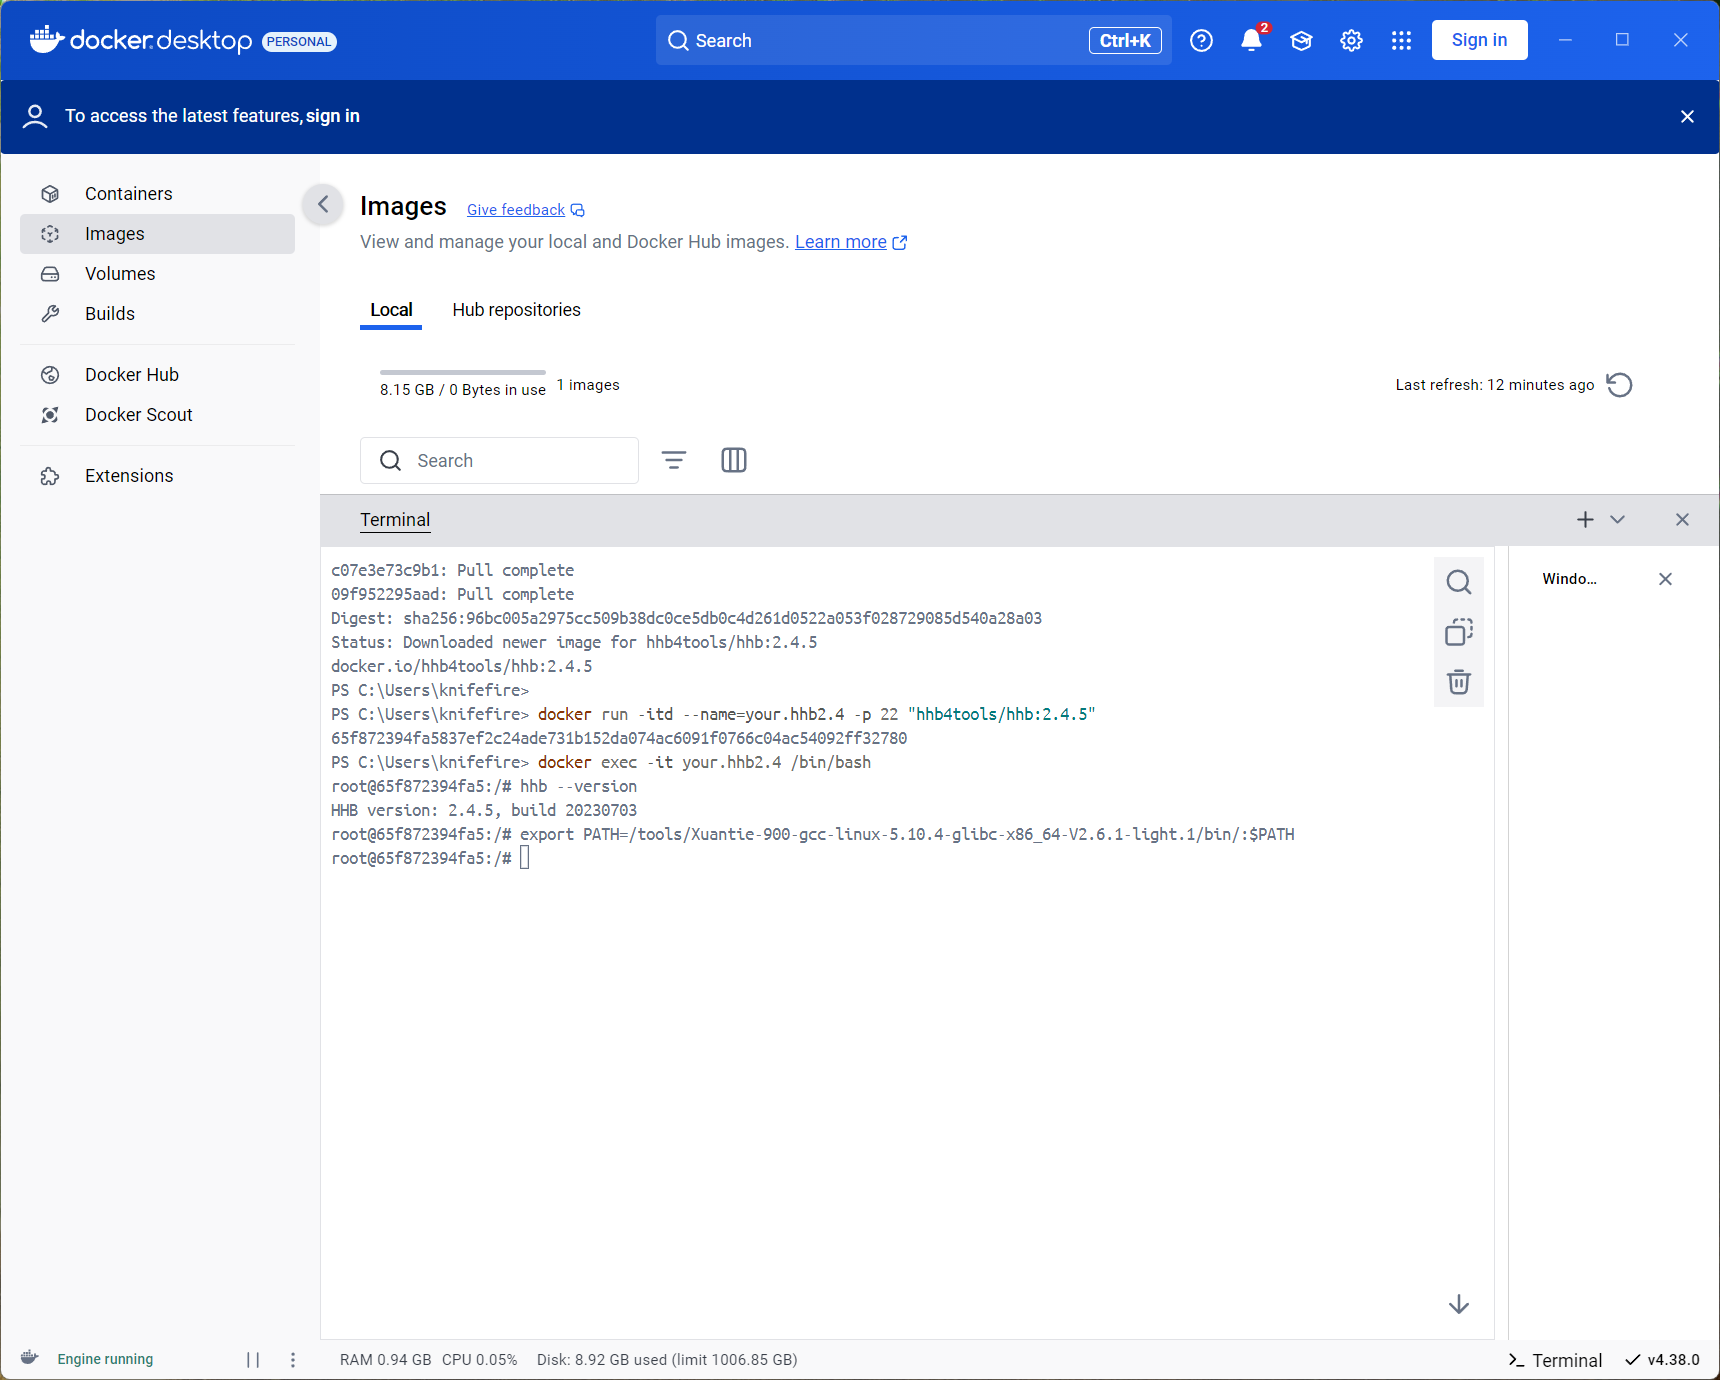
至此,HHB 环境初步搭建完成。
部署MobilenetV2
进入docker中
首先获取本节教程的模型,下载到示例目录 /home/example/th1520_npu/onnx_mobilenetv2_c++ 下:
mobilenetv2-12.onnx
并获取本次教程所使用的优化版本 opencv 所需的库文件,前往 github仓库下载下载到上一级目录 /home/example/th1520_npu/ 下。
cd /home/example/th1520_npu/
git clone https://github.com/zhangwm-pt/prebuilt_opencv.git
编译
HHB 编译模型:
将 ONNX 模型交叉编译成 NPU 上可执行的程序,需要使用 hhb 命令。注意,NPU 上仅支持8位或者16位定点运算,本示例中指定为 int8 非对称量化。编译时需要先进入到示例所在目录 /home/example/th1520_npu/onnx_mobilenetv2_c++:
cd /home/example/th1520_npu/onnx_mobilenetv2_c++
hhb -D --model-file mobilenetv2-12.onnx --data-scale 0.017 --data-mean "124 117 104"  --board th1520  --postprocess save_and_top5 --input-name "input" --output-name "output" --input-shape "1 3 224 224" --calibrate-dataset persian_cat.jpg  --quantization-scheme "int8_asym"
选项说明:
- -D :指定 HHB 流程执行到生成可执行文件的阶段为止
- --model-file :指定当前目录中已经下载好的 mobilenet 模型
- --data-mean :指定均值
- --data-scale :指定缩放值
- --board :指定目标平台为 th1520
- --input-name: 模型的输入名
- --output-name:模型的输出名
- --input-shape:模型的输入大小
- --postprocess:保存输出结果,并且打印 top5 结果
- --calibrate-dataset:指定量化时所需的校准图片
- --quantization-scheme:指定量化方式为 int8 非对称
命令执行完成后,会在当前目录生成 hhb_out 子目录,里面的包括了 hhb_runtime,model.c 等多个文件:
- hhb.bm:HHB 的模型文件,包括了量化后的权重数据等信息
- hhb_runtime:th1520 平台上的可执行文件,由目录中的c文件编译而成
- main.c:临时文件,示例程序的参考入口
- model.c:临时文件,模型结构文件,与模型结构相关
- model.params:临时文件,权重数值
- io.c:临时文件,读写文件的辅助函数
- io.h:临时文件,读写文件的辅助函数声明
- process.c:临时文件,图像预处理函数
- process.h:临时文件,图像预处理函数声明
更详细的 HHB 选项说明可以参考 HHB用户手册中的命令行选项说明。
g++编译示例:
riscv64-unknown-linux-gnu-g++ main.cpp -I../prebuilt_opencv/include/opencv4 -L../prebuilt_opencv/lib -lopencv_imgproc -lopencv_imgcodecs -L../prebuilt_opencv/lib/opencv4/3rdparty/ -llibjpeg-turbo -llibwebp -llibpng -llibtiff -llibopenjp2 -lopencv_core -ldl -lpthread -lrt -lzlib -lcsi_cv -latomic -static -o mobilenetv2_example
编译命令正确执行完成后会在示例目录生成 mobilenetv2_example 文件。
执行
交叉编译完成后,即可将程序执行所需的文件复制到开发板的目录中。
将docker中的文件夹传输到宿主机:
docker cp 65f872394fa5837ef2c24ade731b152da074ac6091f0766c04ac54092ff32780:/home/example/th1520_npu/onnx_mobilenetv2_c++ C:\Users\knifefire\Downloads\
然后上传到开发板即可。
先确认开发板中驱动是否加载:
lsmod
若在输出中有 img_mem,vha 和 vha_info 这三个模块,NPU驱动即加载成功。
手动加载NPU驱动:
sudo insmod /lib/modules/5.10.113-th1520/kernel/drivers/nna/img_mem/img_mem.ko

sudo modprobe vha onchipmem_phys_start=0xffe0000000 onchipmem_size=0x100000 freq_khz=792000

sudo insmod /lib/modules/5.10.113-th1520/kernel/drivers/nna/vha/vha_info.ko

sudo chmod a+rw /dev/vha0
参考 YOLOX章节 安装并配置好 python 虚拟环境
在开发板相应目录下运行刚刚编译好的示例:
export LD_LIBRARY_PATH=$LD_LIBRARY_PATH:/usr/lib/th1520/lib
./mobilenetv2_example
执行完成后,会在终端上提示执行到的各个阶段:
- 预处理
- 模型执行
- 后处理
mobilenetv2_example 执行会使用到的文件:
- persian_cat.jpg:输入图片
- input_img.bin:预处理阶段,根据输入图片生成的中间结果
- hhb_out/hhb_runtime:模型执行阶段使用的文件,由x86主机上 HHB 生成
- hhb_out/hhb.bm:模型执行阶段使用的文件,由x86主机上 HHB 生成
- input_img.bin_output0_1_1000.txt:模型执行阶段的输出文件,包括了模型执行输出的 1000 个结果数值
参考结果:
(venv) sipeed@revyos-lpi4a:~/onnx_mobilenetv2_c++$ ./mobilenetv2_example
 ********** preprocess image **********
 ********** run mobilenetv2 **********
INFO: NNA clock:792000 [kHz]
INFO: Heap :ocm (0x18)
INFO: Heap :anonymous (0x2)
INFO: Heap :dmabuf (0x2)
INFO: Heap :unified (0x5)
FATAL: Importing 150528 bytes of CPU memory has failed (wrong memory alignment)
Run graph execution time: 15.03903ms, FPS=66.49

=== tensor info ===
shape: 1 3 224 224
data pointer: 0x2b4aca0

=== tensor info ===
shape: 1 1000
data pointer: 0x3fdd40b000
The max_value of output: 16.053827
The min_value of output: -8.026914
The mean_value of output: -0.001889
The std_value of output: 9.203342
 ============ top5: ===========
283: 16.053827
281: 14.165141
287: 11.709850
285: 11.615416
282: 11.332113
free(): invalid pointer
Aborted
 ********** postprocess result **********
 ********** probability top5: **********
n02123394 Persian cat
n02123045 tabby, tabby cat
n02127052 lynx, catamount
n02124075 Egyptian cat
n02123159 tiger cat
CPU
将上述 NPU 步骤中的 HHB 编译命令替换为:
hhb -D --model-file mobilenetv2-12.onnx --data-scale 0.017 --data-mean "124 117 104" --board c920 --postprocess save_and_top5 --input-name "input" --output-name "output" --input-shape "1 3 224 224"
g++ 编译后处理命令替换为:
riscv64-unknown-linux-gnu-g++ main.cpp -I../prebuilt_opencv/include/opencv4 -L../prebuilt_opencv/lib -lopencv_imgproc -lopencv_imgcodecs -L../prebuilt_opencv/lib/opencv4/3rdparty/ -llibjpeg-turbo -llibwebp -llibpng -llibtiff -llibopenjp2 -lopencv_core -ldl -lpthread -lrt -lzlib -lcsi_cv -latomic -static -o mobilenetv2_example
再将编译的到的二进制文件发送到开发板上运行即可。参考结果如下:
(ort) root@lpi4a:/home/sipeed/onnx_mobilenetv2_c++# ./mobilenetv2_example
 ********** preprocess image **********
 ********** run mobilenetv2 **********
Run graph execution time: 79.77252ms, FPS=12.54

=== tensor info ===
shape: 1 3 224 224
data pointer: 0x259240

=== tensor info ===
shape: 1 1000
data pointer: 0x1c5200
The max_value of output: 16.843750
The min_value of output: -7.414062
The mean_value of output: 0.001131
The std_value of output: 9.056762
 ============ top5: ===========
283: 16.843750
281: 13.789062
287: 12.257812
282: 10.898438
285: 10.765625
 ********** postprocess result **********
 ********** probability top5: **********
n02123394 Persian cat
n02123045 tabby, tabby cat
n02127052 lynx, catamount
n02123159 tiger cat
n02124075 Egyptian cat
参考文档:
https://wiki.sipeed.com/hardware/zh/lichee/th1520/lpi4a/8_application.html#MobilenertV2
https://blog.csdn.net/weixin_44404482/article/details/134118924